1. Yad Text
Display text information dialog.

You will notice there is no =TEXT option.
yad --text-info < /tmp/hello.txt does providing the file "hello.txt" exists.It reads the information from a file and displays it in the --text-info box.
1.1. --fore=COLOR
Use specified color for text.
Lets create a simple text file called hello.txt in /tmp .
Inside the text file type "Hello There!"
Now read the file into the --text-info dialog like:
yad --text-info --fore=red < /tmp/hello.txt
You can load quite a large text file and scroll bars will be added when required.
1.2. --back=COLOR
Use specified color for background.
The background colour can also be changed like:
yad --text-info --back=cyan < /tmp/hello.txt
1.3. --line=NUMBER
Jump to specific line at startup.
This option works only when filename was specified.
1.4. --file-op
Enable file operations.
This option adds open and save menu items to popup menu, This option works only in editable mode.
1.5. --confirm-save=[TEXT]
Confirm file saving if file content was changed.
This option works only when --in-place is specified.
Optional argument is a text for confirmation dialog.
1.6. --wrap
Enable text wrapping.
Create a text file called dogs.txt. In the file type "The quick brown fox jumped over the lazy dogs back."
yad --text-info --wrap < dogs.txt
Notice how the text is wrapped in the dialog box.
1.7. --margins=NUMBER
Set text margins to NUMBER.
yad --text-info --wrap --margins=20 < dogs.txt
I added --wrap so you could see margins on both sides.
1.8. --editable
Allow changes to the text.
yad --text-info --editable < hello.txt
Now add sunshine after there

When you click OK, the following will be displayed:
Hello there sunshine!
1.9. --tail
Autoscroll to end of text.
If you load a text file it will scroll through the text to the end of the file.
If it’s a long file it will scroll too fast to read it.
It’s a handy way to get to the end of a file.
|
|
This option works only when text is read from stdin. |
1.10. --show-cursor
Show cursor in read-only mode.
yad --text-info --show-cursor < dogs.txt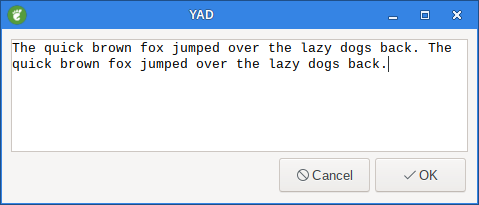
Note the line after the "back." word
1.11. --show-uri
Make URI clickable.
Create a file called links.txt. Type https://github.com/v1cont/yad/ in the file and save the file.
yad --text-info < links.txt --show-uri
Now click on the link to go to the website.
1.12. --uri-color=COLOR
Use specified color for links.
yad --text-info < links.txt --show-uri --uri-color=red
1.13. --listen
Listen data from stdin even if filename was specified.
1.14. --in-place
Save file on exit instead of print it content on stdout.
This option works only if file was specified from command-line.
1.15. --file-op
Enable file operations.
This option adds open and save menu items to popup menu.
This option works only in editable mode.
yad --text-info --editable --file-op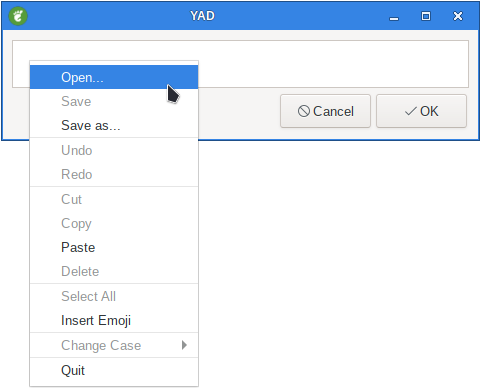
1.16. --disable-search
Disable search bar.
2. Examples
2.1. testedit
Now lets make it do something.
Write the following script, save it as testedit, then make it executable.
#!/bin/sh
# Created by smokey01
# http://smokey01.com/yad/

yad --text-info --editable < /tmp/hello.txt > /tmp/hello2.txt
rm /tmp/hello.txt
cp /tmp/hello2.txt /tmp/hello.txt
rm /tmp/hello2.txt
Now run testedit to have some fun.
|
|
If you don’t want to edit the hello2.txt file just click OK. |
|
|
If you click Cancel button the text in the file will be removed. |
Enter "Hello There!" in the text box. Klick on the OK-button.

Now run the script again.
Enter "Hi" under "Hello There!" and klick the OK-button.
Now run the script again and se what happend.

3. GtkSourceView options
These options works only if YAD is build with GtkSourceView.
3.1. --lang=LANGUAGE
Highlight syntax for specified LANGUAGE.
yad --text-info --lang=css < ./asciidoctor.css --width=600 --height=480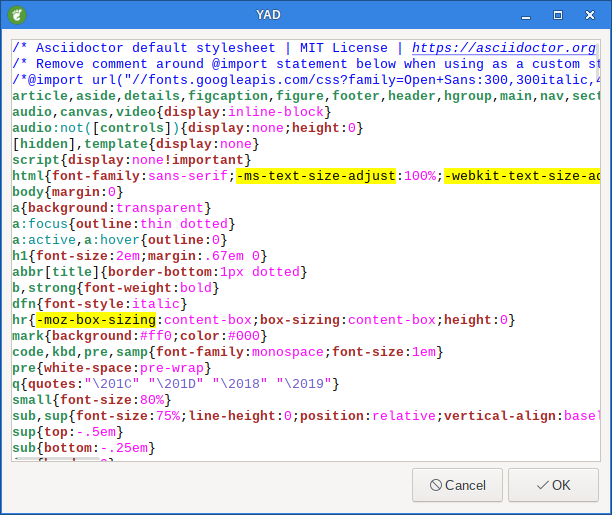
3.2. --theme=THEME
Set used theme to THEME. Use yad-tools(1) to get list of all available themes.
For my Salix OS the aviable themes is:
yad-tools --show-themes

Classic
Cobalt
Kate
Oblivion
Solarized Dark
Solarized Light
Tangoyad --text-info --lang=css --theme=Kate< ./asciidoctor.css --width=600 --height=480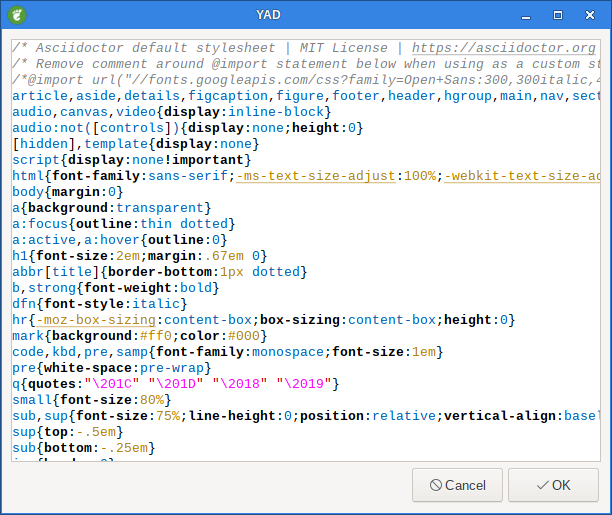
3.3. --mime=TYPE
Specify mime type of input data.
This options only needed for guessing appropriate syntax highlighting.
3.4. --line-num
Show line numbers.
yad --text-info --line-num --lang=css < ./asciidoctor.css --width=600 --height=480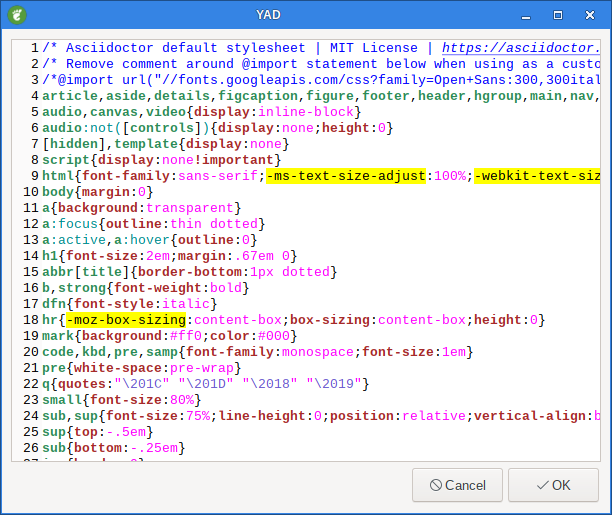
3.5. --line-hl
Highlight current line.
yad --text-info --line-hl --lang=css < ./asciidoctor.css --width=600 --height=480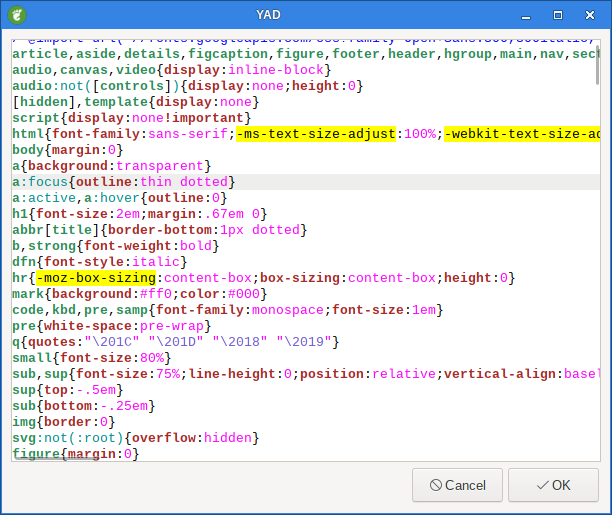
3.6. --line-marks
Enable line marks mode.
There are two types of marks. First type sets by left mouse button and second by the right mouse button.
3.7. --mark1-color=COLOR
Set background color for marks of first type to COLOR.
Default is lightgreen.
3.8. --mark2-color=COLOR
Set background color for marks of second type to COLOR.
Default is pink.
3.9. --right-margin=[POS]
Enable mark of right margin.
Optional argument POS is a margin position in characters.
Default is 80.
yad --text-info --right-margin=60 --lang=css < ./asciidoctor.css --width=600 --height=480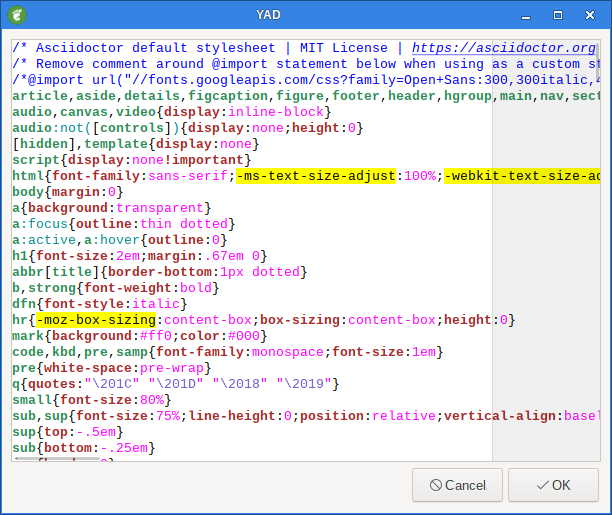
3.10. --brackets
Highlight matching brackets.
3.11. --indent
Enable autoindent.
This option also sets TAB key as indent key.
3.12. --smart-he=TYPE
Set behavior of HOME and END keys.
The TYPE is one of newer, before, after or always.
3.13. --smart-bs
Enable smart mode for BackSpace.
If this option is enabled BackSpace will delete spaces to the next tab position.
3.14. --tab-width
Set tabulation step.
3.15. --indent-width
Set indentation step.